
Annotations
The Annotation tool places clickable annotation points in the scene. Annotation content can include a title, body text, media, and links. Two annotation types are supported: Display Annotation and Portal.
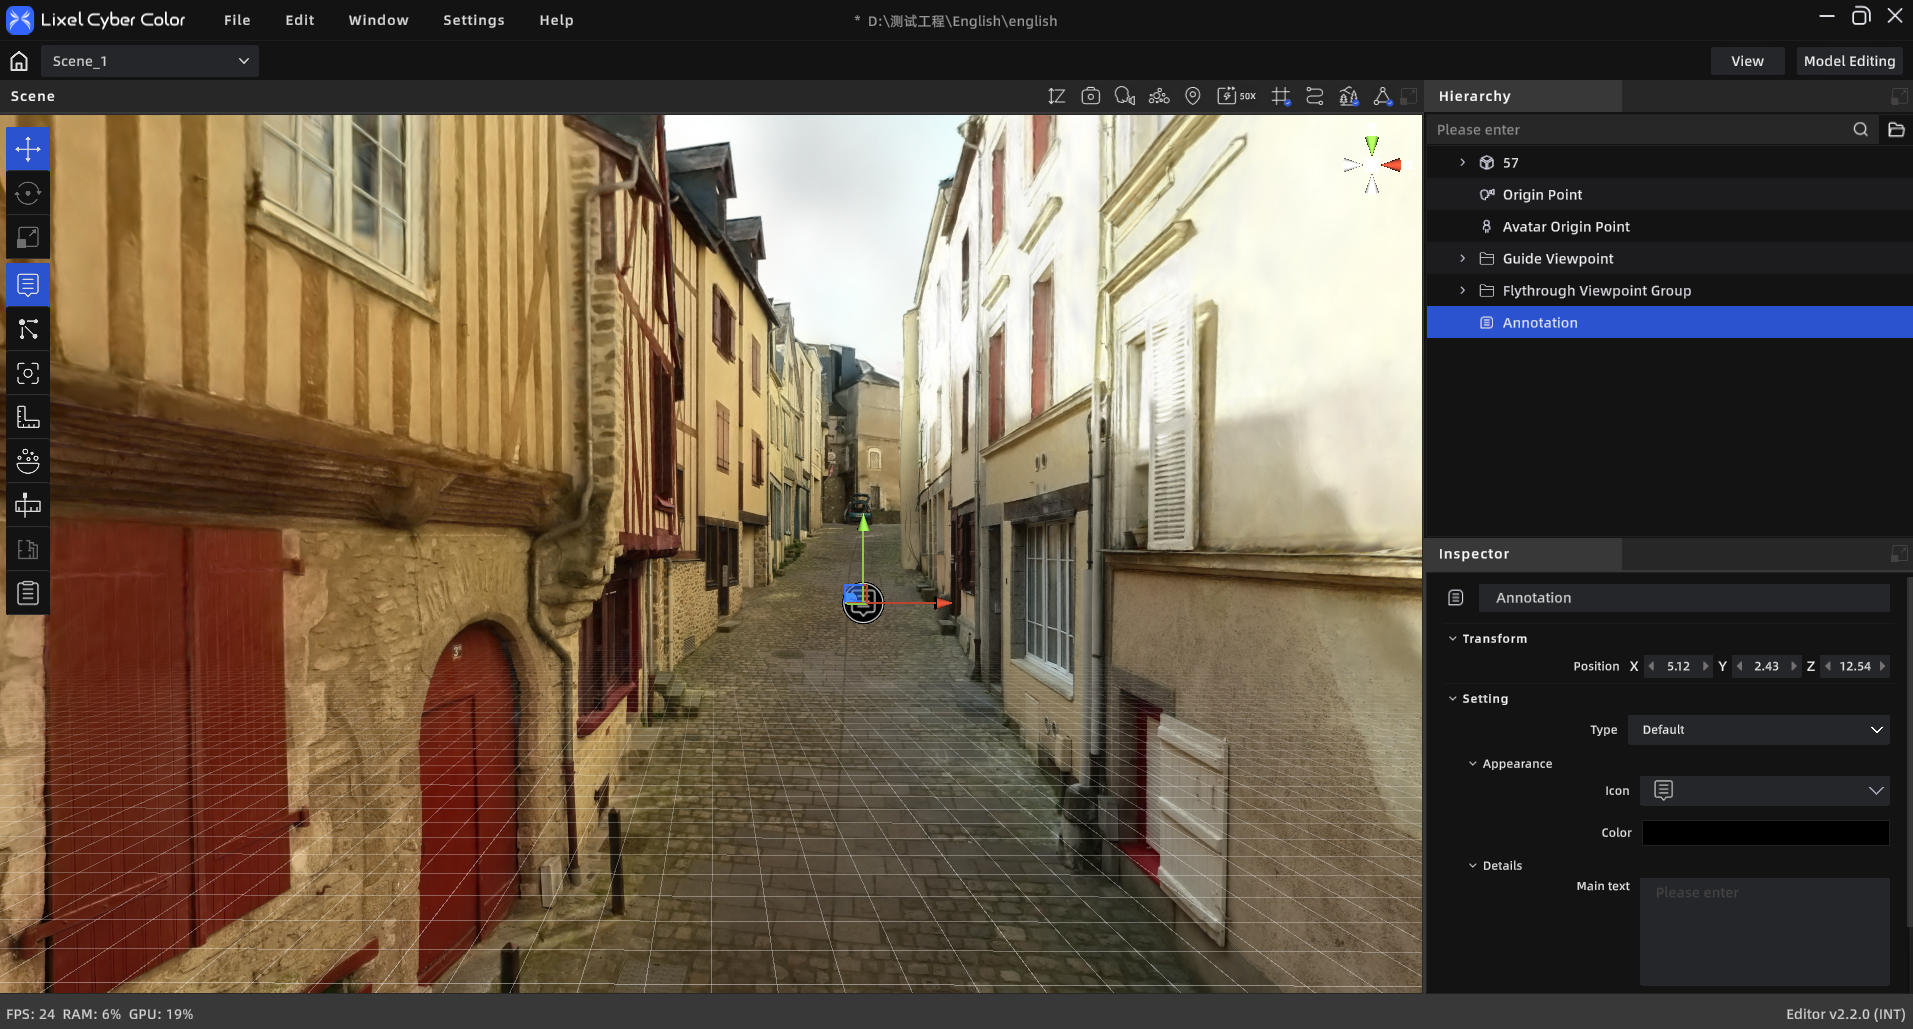
Annotations
Workflow
Adding an Annotation Point
- Click Annotations in the toolbar to enter annotation mode
- Single-click a surface on the target model to place the annotation point
- Select the annotation type: Display Annotation / Portal
- Fill in the relevant content in the properties panel
- Click Annotations in the toolbar again to exit annotation mode
Display Annotation
- Choose an icon style and color
- Enter a title (required, ≤50 characters)
- Enter body text (≤1000 characters)
- Add media:
- Snapshot: Click the snapshot button → navigate to the angle → click to capture (up to 5 photos)
- File upload: Click + in the media area; supports JPEG / PNG / MP4, up to 5 files, max 500 MB each
- Add a link: Paste a URL in the "Link" field
Portal
New in V2.2 — supports placing portals at any scene location and configuring same-scene or cross-scene jump targets. See Portal.
Editing & Managing Annotations
Edit an Annotation
- Click the annotation in the asset list or 3D scene
- The properties panel shows the annotation's editable content (title, body, media, link, etc.) directly
- Edit in the properties panel — no separate editing panel needed
- Drag the annotation point in the 3D view to reposition it
Delete an Annotation
- Select the annotation in the 3D view or asset list
- Press
Delete, or right-click and choose "Delete"
Visibility Control
- Toggle individual annotation visibility using the eye icon in the asset list
- The Annotations toolbar button is only a creation entry point; it does not control overall annotation visibility